
Last updated November 20, 2026
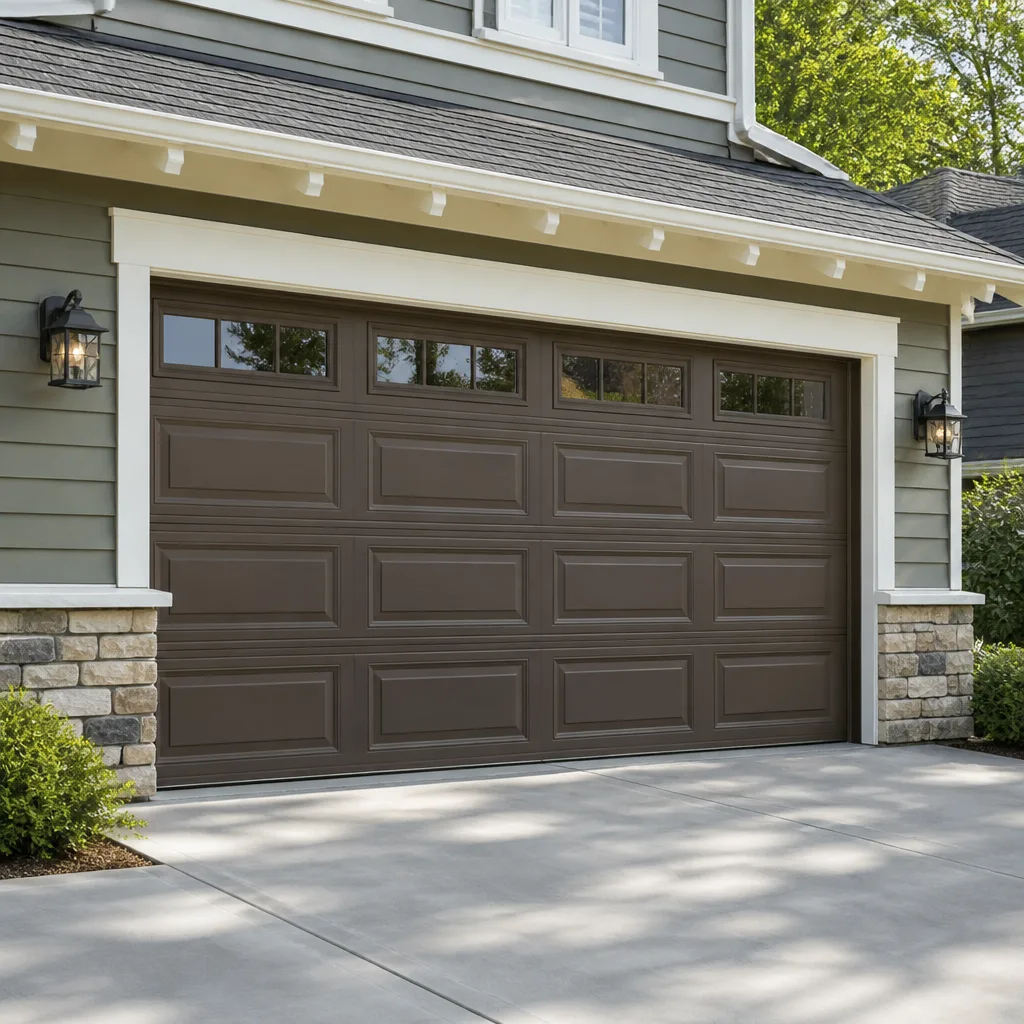 Raised-panel steel
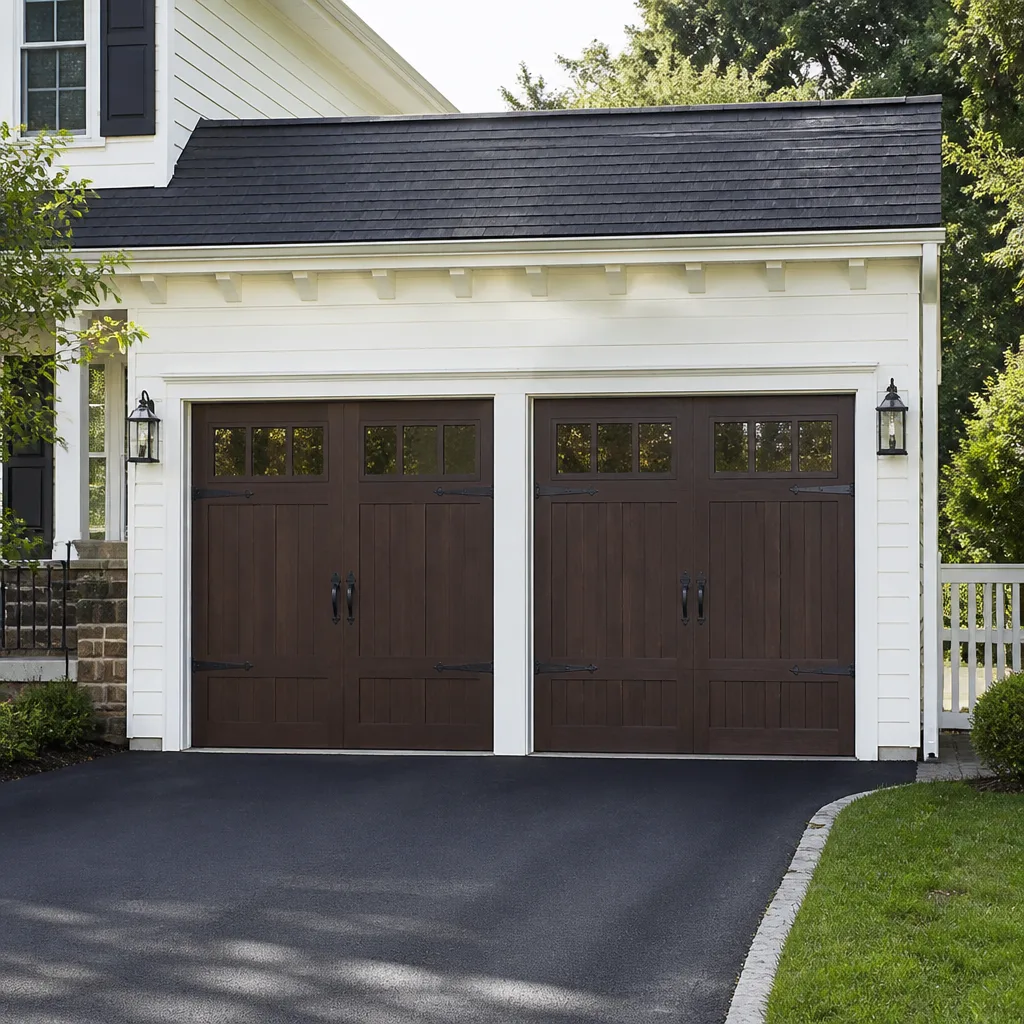 Carriage house
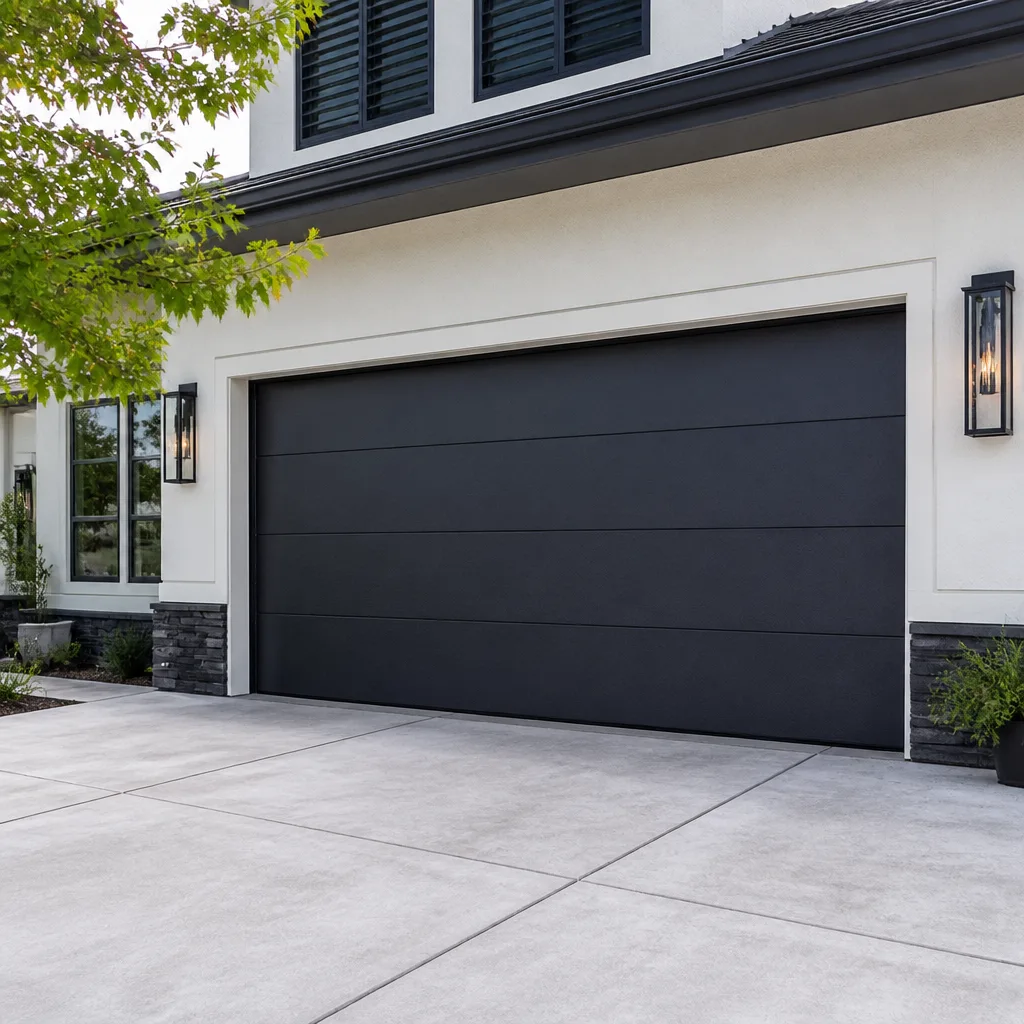 Modern flush
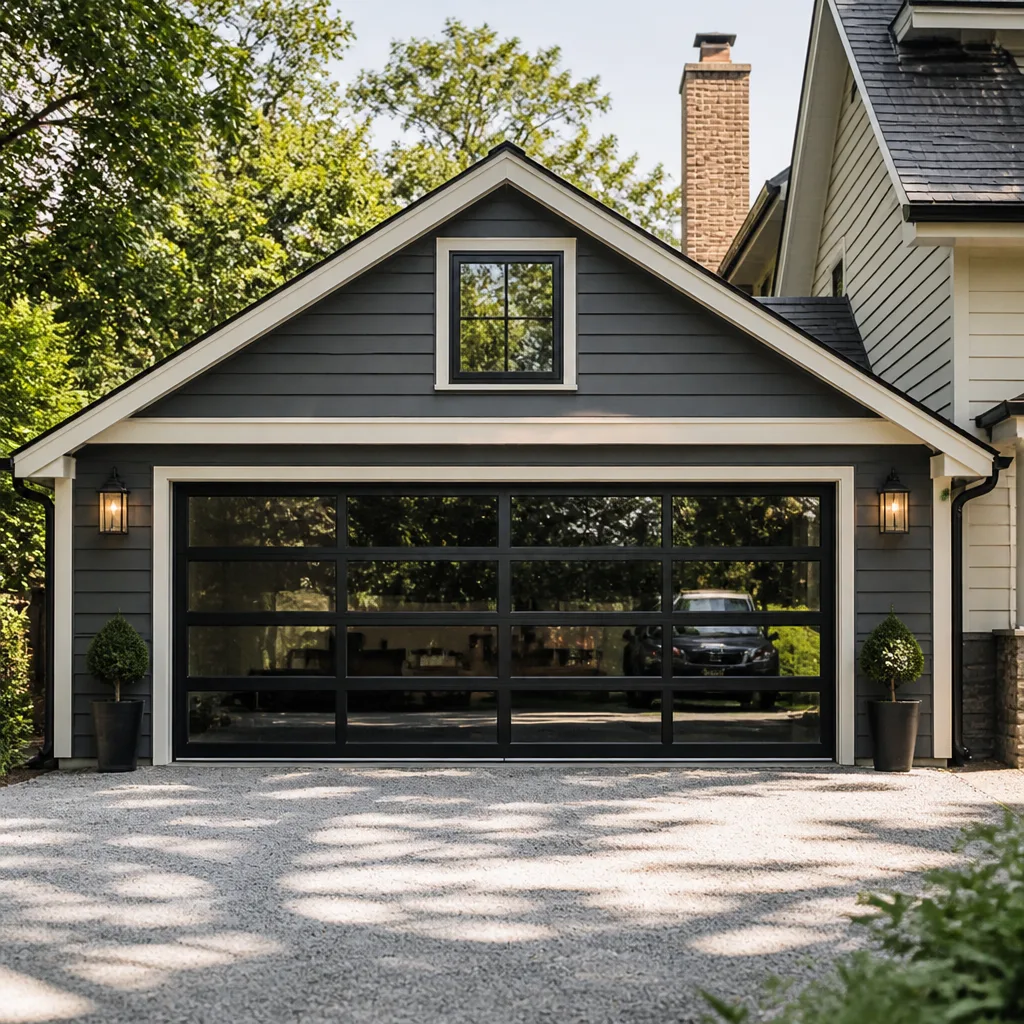 Full-view glass
 LiftMaster openers
 Chamberlain openers
Full 25-point door and opener safety check with every visit - springs, cables, rollers, tracks, and your LiftMaster or Chamberlain opener included
You get a price before we start. It does not change when the pro arrives.
Get your free estimateGarage Door Repair Maintenance Checklist for Geist Homeowners
Most printable maintenance checklists tell you to “lubricate moving parts” and “test the auto-reverse.” That’s not a checklist. That’s a liability disclaimer. A real checklist tells you what failure looks like before it happens: the specific rust streak on a torsion spring, the particular sag in a cable, the crack pattern in a bottom seal after a hard Indiana freeze. Garage doors don’t announce themselves. They give you warnings for months, and most homeowners don’t know the language. This guide gives you that language. You’ll learn what to inspect, what a healthy part looks like versus a failing one, and when a five-minute observation saves you a call to us at Garage Door Repair Geist.
Styles & brands we work with
- Raised-panel steel
- Carriage house
- Modern flush
- Full-view glass
- LiftMaster openers
- Chamberlain openers
Quick Answer
A garage door maintenance checklist for a Geist home should focus on four systems: springs, cables, rollers and tracks, and weather seals, checked twice a year at the two climate shift points (after the last hard freeze in spring and before the first one in fall). Most failures in Geist trace back to a spring near the end of its cycle count or a seal that cracked over winter. Visual inspection takes about 15 minutes; if you spot a gap in a spring, a frayed cable, or a door that won’t hold halfway open, stop operating it and call a specialist.
Table of Contents
- Why Garage Doors in Geist Fail Differently
- The Right Maintenance Schedule: Seasons, Not Just “Annually”
- Torsion and Extension Springs: What Wear Actually Looks Like
- The Balance Test, Done Correctly
- Cable Fraying: Normal vs. Imminent Failure
- Weatherstripping: Cracking vs. Compression Failure
- Rollers and Tracks: Subtle Problems That Wreck Openers
- Opener Diagnostics: Listening for Trouble
- Common Mistakes to Avoid
- When to Call a Professional
- Frequently Asked Questions
- The Bottom Line
Why Garage Doors in Geist Fail Differently
Central Indiana hands a garage door three things most checklists ignore: a real freeze-thaw cycle, humid summers, and a lot of homes where the garage door is the primary daily entrance. A door that cycles four to six times a day, every day, in a climate that swings from single digits in January to the mid-90s in July, wears very differently than a door in a milder region. The springs take the load. The seals take the climate. The opener takes the consequences of both.
Around Geist specifically, most residential doors are steel or steel-backed insulated panels with torsion spring systems. Torsion springs sit above the door on a shaft. Extension springs run parallel to the horizontal tracks. Both are rated in cycle counts, not years, and a cycle is one open plus one close. A door rated for a standard cycle count used heavily in a busy Geist household can reach the end of its service life faster than the “ten years” number floating around online would suggest. That’s not a scare tactic; it’s how cycle ratings work.
The humidity is its own factor. Geist summers push moisture into unheated garages, which accelerates surface rust on springs, hinges, and roller stems. Rust isn’t just cosmetic on a torsion spring. Surface corrosion creates stress points where the coil can fail, and it changes how the spring sounds under load. Meanwhile, winters contract the aluminum bottom seal and harden the vinyl, so a seal that looked fine in October can be cracked and letting water in by February.
The other Geist-specific factor is the mix of home ages. Older subdivisions and newer builds sit side by side, and a door installed twenty years ago versus one installed five years ago present different maintenance risks. Older doors typically have metal rollers, extension springs on the sides, and original bottom seals. Newer doors tend to have nylon rollers, torsion springs, and photoelectric safety sensors. If you don’t know which system you have, that’s the first thing to identify before you inspect anything else.
We work on this equipment daily, and the pattern is consistent: the doors that fail catastrophically in Geist are almost never the ones that were inspected twice a year. They’re the ones where nobody ever looked at the spring. Our garage door repair in Geist work is dominated by spring and cable failures that gave visible warnings for months.
The Right Maintenance Schedule: Seasons, Not Just “Annually”
A single “annual tune-up” is a marketing rhythm, not a maintenance rhythm. In a climate like Geist’s, two inspection windows matter more than one yearly pass: after the last hard freeze in spring, and before the first hard freeze in fall. Everything else is cosmetic upkeep you can do whenever you’re already in the garage.
Why those two windows? A hard freeze stresses every material in the door system at once. Vinyl seals contract. Metal tracks shrink slightly. Springs that were already fatigued can cross the threshold. Whatever cracked or shifted during winter is easiest to catch in spring, before it compounds through summer heat. Come fall, the priority flips: you’re checking that everything that survived summer is ready for the freeze ahead. Seals, lubricant, and the balance test are the fall priorities.
The Spring Inspection Window (after the last freeze)
- Walk the full door closed and look for daylight at the sides and bottom. Any light coming through means the seal or the panel alignment moved over winter.
- Inspect both springs for rust or gap (details in the next section).
- Check the cables for fraying, especially where they wrap the drums at the top corners.
- Listen on the first ten cycles. New sounds in spring usually mean something shifted with the freeze.
- Test the balance once the door is warm and has cycled a few times.
The Fall Inspection Window (before the first freeze)
- Lubricate hinges, rollers, and the torsion shaft with a garage-door-rated lubricant, not WD-40.
- Inspect the bottom seal for cracking and compression loss (covered in detail further down).
- Run the balance test and note any change from spring.
- Check the opener’s force and safety reverse according to the manufacturer’s manual.
- Clear the tracks of debris and confirm no bent sections from a summer bump.
If you do nothing else all year, do those two windows. If you’d rather have someone walk the checklist with you, our garage door repair visit includes a full inspection with a written report of anything that’s close to failure.
Torsion and Extension Springs: What Wear Actually Looks Like
Springs are the most dangerous component in the entire door assembly, and they’re also the part with the clearest visible warning signs. The problem is most homeowners don’t know what to look at. Here’s what we look for, in order of urgency.
Gap formation on a torsion spring
A healthy torsion spring is a continuous, tight coil. When a spring is nearing the end of its cycle count, the coils separate into a visible gap, usually about a quarter-inch or more between windings. A gap means the coil has lost tension uniformity, and once that happens, the spring can snap without any other warning. If you see a gap, stop cycling the door and call.
Rust streaking on the coil
Rust on the surface of a torsion spring is a real warning here. The humidity in a Geist garage rusts the coil surface, and every rust spot becomes a stress riser where a crack starts. Look for orange-brown streaks running along the length of the coil, not just a spot at one end. Streaking down the length is the pattern that says the spring has been stressed through many cycles.
Coil deformation and uneven winding
Compare the coil from end to end. A worn spring often has tighter windings at one end and looser at the other, or a section where the coil looks flattened. Both indicate uneven load distribution and imminent failure. On extension springs, look for stretched sections and any sign the safety containment cable is detached or slack.
Sound
Springs should sound like tension, not like a rattle. Run the door and stand near the shaft. If you hear a metallic twang on opening or a grinding creak near the top, the spring or the shaft bearings are telling you something. Once a spring breaks, the door becomes dangerous to operate, so a strange sound is your cue to stop and inspect, not keep going.
Spring replacement done right requires the proper winding bars, decades of technique, and knowing exactly how the door’s weight maps to the spring rating. We handle spring replacement in Geist as one of our core services, and our technicians have up to 12 years of experience with this specific job. Please don’t attempt to unwind or replace a spring yourself. The forces stored in a wound torsion spring are enough to cause serious injury, and even an experienced technician approaches them with the right tools and a clear understanding of the risk.
We service every major spring configuration, whether your door has a Raynor torsion setup, a LiftMaster-powered extension system, or an older Chamberlain build. Same-visit spring repairs are usually possible because we carry parts directly.
The Balance Test, Done Correctly
The balance test tells you whether your door’s springs are still doing their job. An out-of-balance door forces the opener to work harder, and that extra effort is what kills openers early. Most people run the test wrong. Here’s how to do it in three steps:
- Disconnect the opener. Pull the red release cord (or the manual release on your opener) so the door runs on springs and tracks alone, with no motor assist.
- Raise the door to about waist height by hand and let go. A balanced door will hold position or drift very slowly, no more than a few inches either way.
- Repeat at chest height and at head height. A door that holds at one spot but drops or rises quickly at another is out of tolerance, and that usually means one spring is fatigued.
What does “out of tolerance” mean for your opener’s lifespan? Every time the door drops on its own, the opener has to lift more weight than it was set for. The motor’s force adjustments try to compensate, but those adjustments only mask the problem. A LiftMaster or Genie opener that’s been fighting an unbalanced door for a year can overheat the motor, wear the drive gear, or fail the safety reverse test. We see a lot of garage door opener repair calls in Geist that are really balance problems wearing an opener costume.
Reconnect the opener by running the door fully open by hand first, then re-engaging the release. If the door didn’t hold position well, don’t reconnect at all; call for a spring inspection. We carry the diagnostic equipment to test load and spring rating on site, and the fix is often a simpler job than the homeowner expected.
What the balance test doesn’t tell you
Balance only evaluates spring tension. It won’t catch a frayed cable, a bent track, or a failing photoelectric sensor. Run it as part of the full checklist, not instead of it.
Cable Fraying: Normal vs. Imminent Failure
Cables are the connective tissue between the springs and the door. On a torsion system, two cables run from the drums at the top corners down to the bottom brackets. On an extension system, the cables run along the horizontal tracks. Fraying is inevitable; the question is which kind of fraying you’re looking at.
Normal wear
- Slight surface dulling where the cable wraps the drum.
- A single loose strand at a bracket where the cable was crimped originally.
- Light oxidation along the length, no strands protruding.
Imminent failure
- Multiple strands peeling away along a section, like a frayed rope.
- A birdcage effect where the cable has unwound near a drum or bracket.
- A visible kink where the cable has bent sharply and stayed bent.
- Any cable hanging slack on one side while the other is tight.
- Rust pitting on the strands, which weakens the steel from the inside.
A frayed cable on the verge of snapping is genuinely dangerous. When it goes, the door can crash down or twist on the tracks in a way that bends panels and, more importantly, can hurt anyone nearby. If you see any of the imminent-failure patterns, take the door out of daily use by disconnecting the opener, keep people and vehicles clear, and call. Same-day cable service is often available in Geist because of our parts inventory. Our garage door parts supply keeps cables, drums, and brackets on hand so a same-visit repair is normal.
If you have a Chamberlain or Craftsman opener with an original cable that’s fifteen-plus years old, replace both cables as a pair rather than one at a time. The other cable is the same age and has seen the same cycles.
Weatherstripping: Cracking vs. Compression Failure
Geist’s temperature swings are hard on every seal in the door system. There are three seals to check: the bottom seal (also called the astragal), the side and top perimeter seals, and the threshold where the door meets the floor. The two failure modes look different, and they mean different things.
Cracking
Cracked seals are the result of age plus UV plus freeze-thaw. Look for hairline cracks running along the hollow body of the seal, especially at the corners and along the bottom where water sits. Cracking means the material has lost elasticity. It can’t seal, and it will eventually tear away in pieces. This is what we see most often on doors in Geist after three or four winters on the same seal.
Compression failure
Compression failure is subtler. The seal is intact, no cracks, but it’s permanently squeezed where the door closes. If you close the door and the seal looks flat and thin at the contact line rather than forming a soft ridge, it’s failed in compression. Daylight coming through the bottom is the giveaway. Compression failure is often caused by the door’s travel limit being set slightly too low, so the opener is pressing the seal harder than it should every close. That’s a fixable adjustment.
The Geist seasonal test
Slide a piece of paper between the closed door and the floor, then try to pull it out. If it slides freely at multiple points, the seal isn’t making contact. Do this at the two side corners and at the center. Repeat in February and July. A seal that passes in July and fails in February is showing you the winter contraction pattern that’s normal here, and it means new seal material may be the simplest fix. Weatherseal replacement is a straightforward job, and we carry the material needed for most standard residential sizes.
Rollers and Tracks: Subtle Problems That Wreck Openers
Rollers and tracks are the most overlooked part of the door system in our experience. They don’t fail dramatically, so they don’t get attention. Instead, they quietly increase friction and force the opener to work harder, which is the same slow-damage pattern as an unbalanced door.
Roller inspection
- Nylon rollers (common on newer doors) should spin freely by hand. If they wobble or don’t spin, the bearings inside are shot.
- Metal rollers (common on older Geist homes) develop flat spots and get loud. Noise is the tell.
- Roller stems should sit straight in their hinges. Any lean means wear at the hinge.
- Roller edges should look round, not chipped or mushroomed from riding a bent track.
Track inspection
Run a hand along the inside of each vertical and horizontal track. You’re feeling for dents, dings, or sudden bends. A bent track forces the door to ride off-center, and that misalignment wears out rollers on one side faster than the other. Also check that the two sides are parallel at the top and bottom. A door that’s drifted out of plumb rides unevenly and the opener fights the tracks twice as hard. If a vertical track has been bent by a vehicle contact, don’t force the door past it. Call for a track inspection.
For homeowners with an older door running original metal rollers, replacing them with nylon ones is one of the simplest reductions of wear on the opener and the springs. We do that as part of a repair visit when it makes sense, but it’s also a reasonable standalone upgrade if the door is otherwise healthy.
Opener Diagnostics: Listening for Trouble
Your opener tells you what it needs through sound and behavior. Most of what our technicians diagnose on openers in Geist starts with a homeowner’s description of a sound. Here’s how to listen for it.
Listen for these sounds
- Clicking that repeats without the door moving: failed safety sensor, or a stripped drive gear.
- Grinding near the motor housing: worn drive gear on chain-drive openers, or a slipping belt on belt-drive.
- Rattling on open only: loose chain tension or a worn trolley.
- Humming but not moving: motor is running but the drive isn’t engaging the trolley. Often a broken gear or shear pin.
- Door reverses mid-travel without obstruction: force limits need adjustment, or the balance is off.
The safety reverse test
Place a small object (a piece of wood approximately 1.5 inches tall works well) on the floor in the door’s closed path. Run the door down. It should reverse on contact. If it doesn’t, or if it doesn’t reverse when you block the photoelectric sensors at the sides, don’t leave the door operating. The opener needs adjustment. This test is described in every LiftMaster, Chamberlain, Genie, and Craftsman manual, and following the manufacturer’s procedure is the safe approach.
Battery backup and lubrication
If your opener has a battery backup (common on LiftMaster and Chamberlain models installed in the last decade), check the health indicator twice a year. When the battery fails, the door still works until the power goes out, and then it doesn’t. That’s a bad thing to discover mid-storm.
If the sound test is giving you bad news, don’t wait for a full failure. Our opener repair service covers LiftMaster, Chamberlain, Genie, and Raynor systems. We work on the brand you already have, and parts for most models are on hand. Call (855) 846-4618 for an estimate. Same-day service is common because we carry parts directly.
Common Mistakes to Avoid
- Using WD-40 instead of garage-door lubricant. WD-40 displaces moisture, then evaporates and attracts dust. It’s a solvent, not a lubricant. Use a proper garage-door-specific spray on hinges, rollers, and the torsion shaft.
- Adjusting opener force limits instead of fixing the door. When a door feels heavy, homeowners often turn up the force setting on the opener. That doesn’t fix the balance problem. It just masks it while the motor overheats and the safety reverse becomes unreliable.
- Running a door with a visible spring gap. A gapped torsion spring can snap without warning, and a snapped spring turns a heavy door into a free-falling one. Stop operating the door at the first sign.
- Replacing one cable when both are the same age. Cables fail together. If one is frayed to imminent-failure condition, replace the pair.
- Ignoring the bottom seal until water is inside the garage. In Geist, a failed bottom seal lets in meltwater in spring and driving rain in summer. Inspect it in October, not April.
- Painting over rusted springs. Painting hides the corrosion instead of addressing it. The rust is on the inside of the coil too, and a coat of paint only delays the failure you didn’t see.
- Calling a general handyman for spring or cable work. Springs and cables have stored tension far above what a generalist is trained for. Use a garage door specialist for spring or cable work, every time.
When to Call a Professional
Call a specialist if you see any of the following: a gap in a torsion spring, rust streaks along the coil, any frayed cable with more than one strand loose, a door that won’t hold position on the balance test, a bent track, a door that reverses without obstruction, or a bottom seal with visible daylight coming through. Also call if the sound of the door has changed and you can’t identify why; diagnosing a strange noise on site is usually faster than guessing.
The other time to call is when you’d rather have a professional inspection than do the visual pass yourself. Our technicians have up to 12 years of experience with garage door systems, and we service every major residential brand, including LiftMaster, Chamberlain, Genie, Raynor, Clopay, Amarr, Wayne Dalton, and Craftsman. Garage Door Repair Geist offers free estimates in Geist. Call (855) 846-4618. We answer 24/7. Fast dispatch from 7am to 7pm, Sunday through Friday.
Frequently Asked Questions
Twice a year, once after the last hard freeze in spring and once before the first hard freeze in fall. The spring check catches winter damage before it compounds through summer heat, and the fall check verifies the seals and balance are ready for the freeze. If your door is used more than five times a day, add a quick visual pass every three months.
You can visually inspect springs, cables, rollers, and seals, test the balance, and lubricate hinges and rollers. You should not adjust springs, replace cables, or wind torsion bars yourself. The stored tension in these components is significant, and the correct tools and technique are not optional. Call (855) 846-4618 for the parts that involve springs or cables. Estimates are free.
A failing torsion spring shows a visible gap between coils, rust streaks running along the length, and uneven winding from one end to the other. It may also make a metallic twang or creak on opening. Any of those signs means the spring is near failure and the door should not be operated. Same-day spring service is common in Geist because we carry parts.
The most common causes are a misaligned or obstructed photoelectric safety sensor, a force limit set too low, or a door that’s become unbalanced. First check that nothing is blocking the sensor lenses at the sides of the door and that the indicator lights on each sensor are steady. If they are, the issue is usually mechanical. Call (855) 846-4618 for a diagnosis. Same-day service is often available.
Typical repairs in Geist run from around $85-$200 for a simple adjustment or roller replacement, up to roughly $150-$400 for a spring or cable replacement depending on the door. Installation is a separate job. The written estimate sets the final price before any work starts. Call (855) 846-4618 for a free estimate on your door specifically.
Standard replacement springs are rated for around 10,000 cycles, and a cycle is one open plus one close. A Geist household cycling the door four to six times a day reaches that count faster than a lighter-use home, and the local freeze-thaw cycle adds stress. If your springs have been in service through many winters, have them inspected. Call for a free estimate if you’d like a technician to check them on site.
The Bottom Line
Maintenance on a garage door is not about the annual tune-up; it’s about knowing what failure looks like before it happens. The checklist that matters in Geist has two required checkpoints (spring post-freeze, fall pre-freeze), four systems to inspect (springs, cables, rollers and tracks, seals), and one hard rule: anything involving stored spring tension or a fraying cable is a professional job. Everything else you can do in fifteen minutes. Two visual passes a year will catch the majority of expensive failures while they’re still cheap ones. When you find something you don’t want to handle, call (855) 846-4618 for a free estimate. We answer 24/7. Fast dispatch from 7am to 7pm, Sunday through Friday, and we service every major brand under one roof. Your door, our only trade.
Written by the team at Garage Door Repair Geist.
See the difference
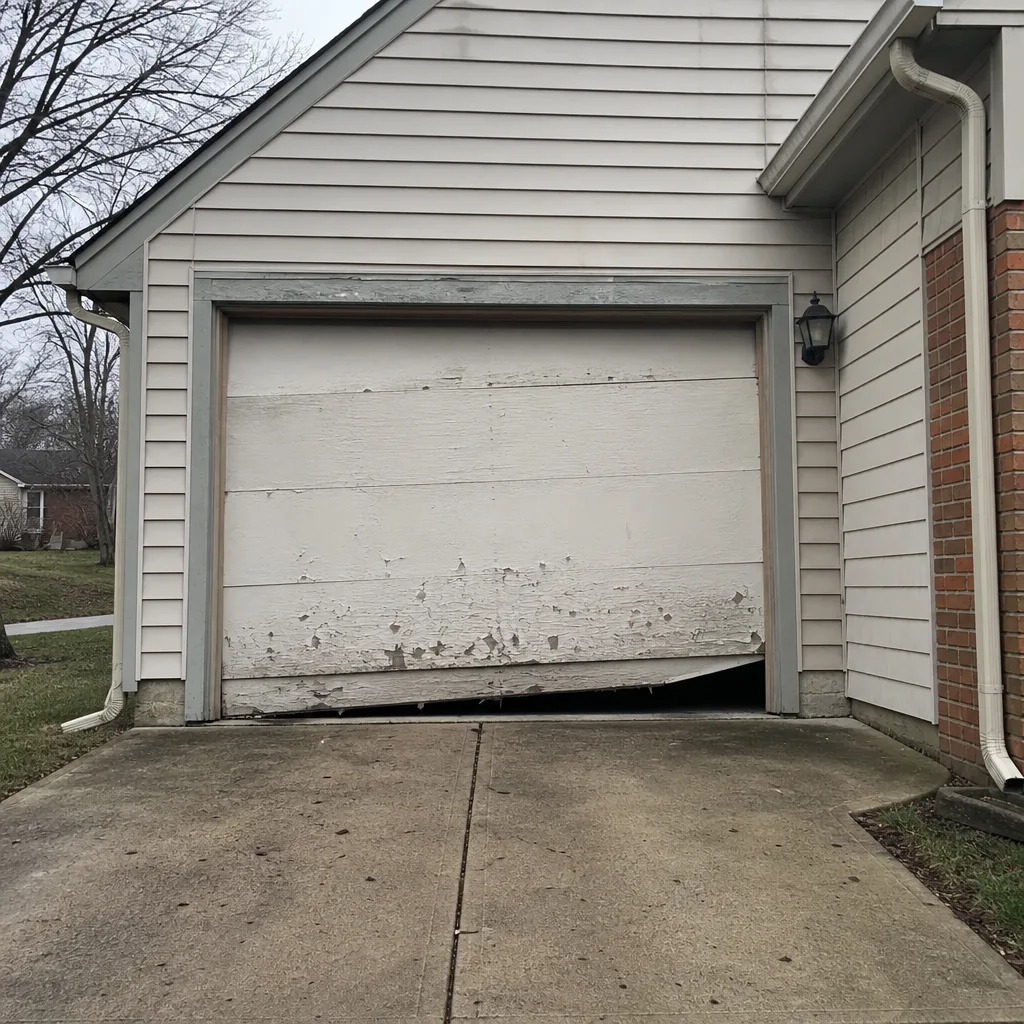 Before
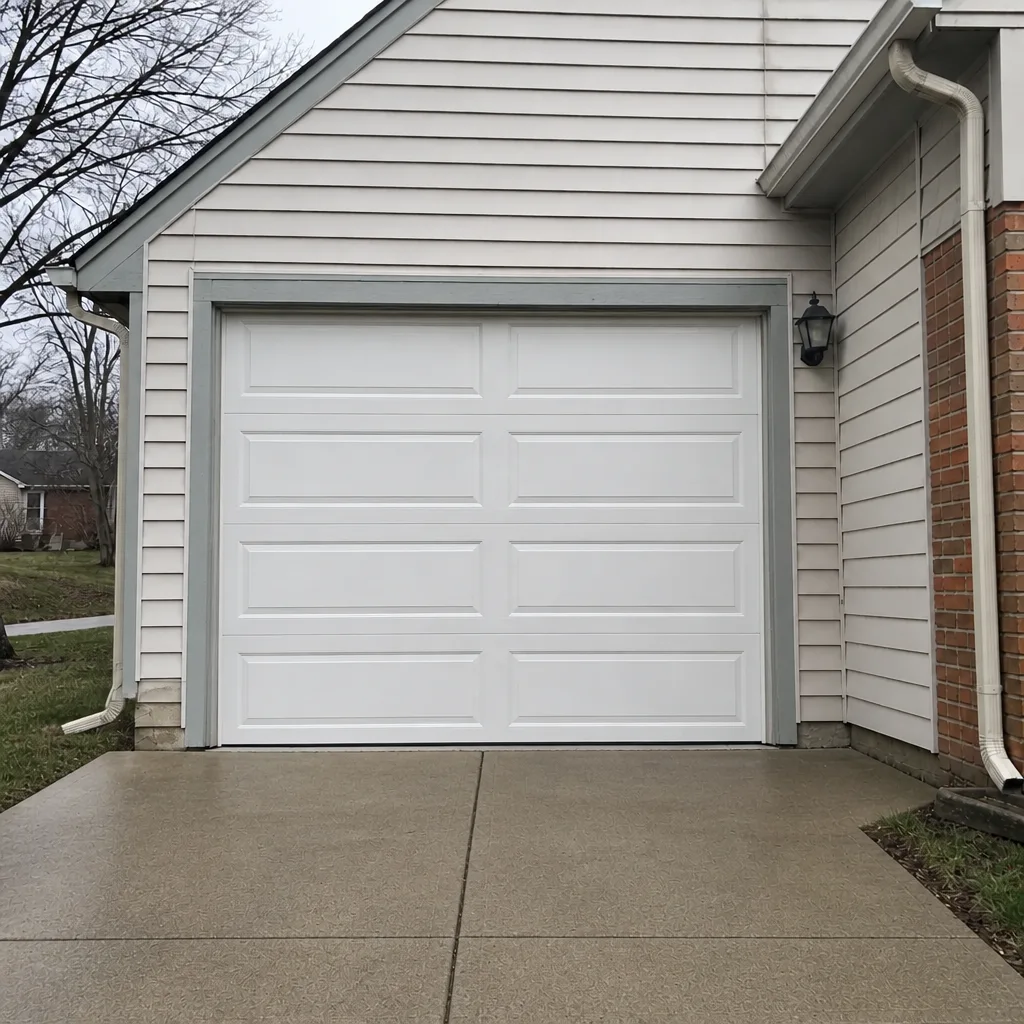 After
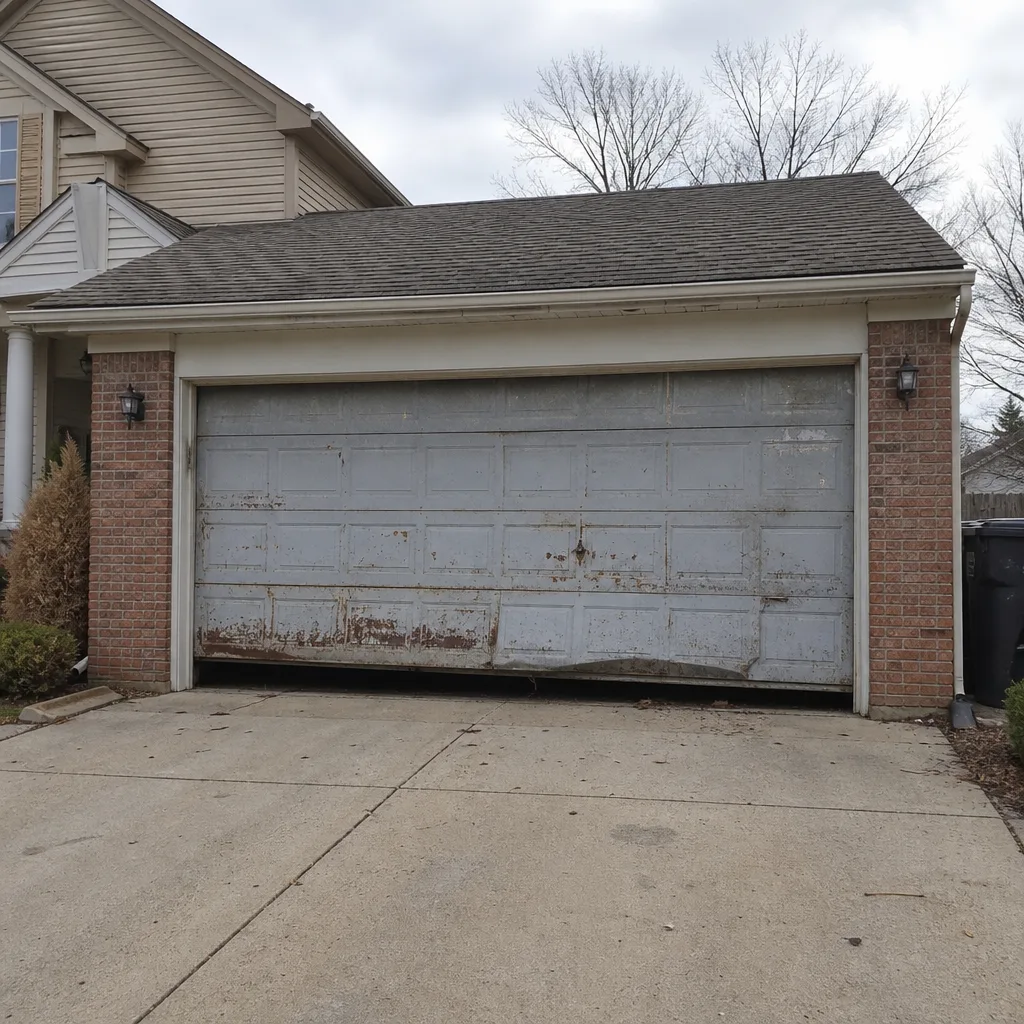 Before
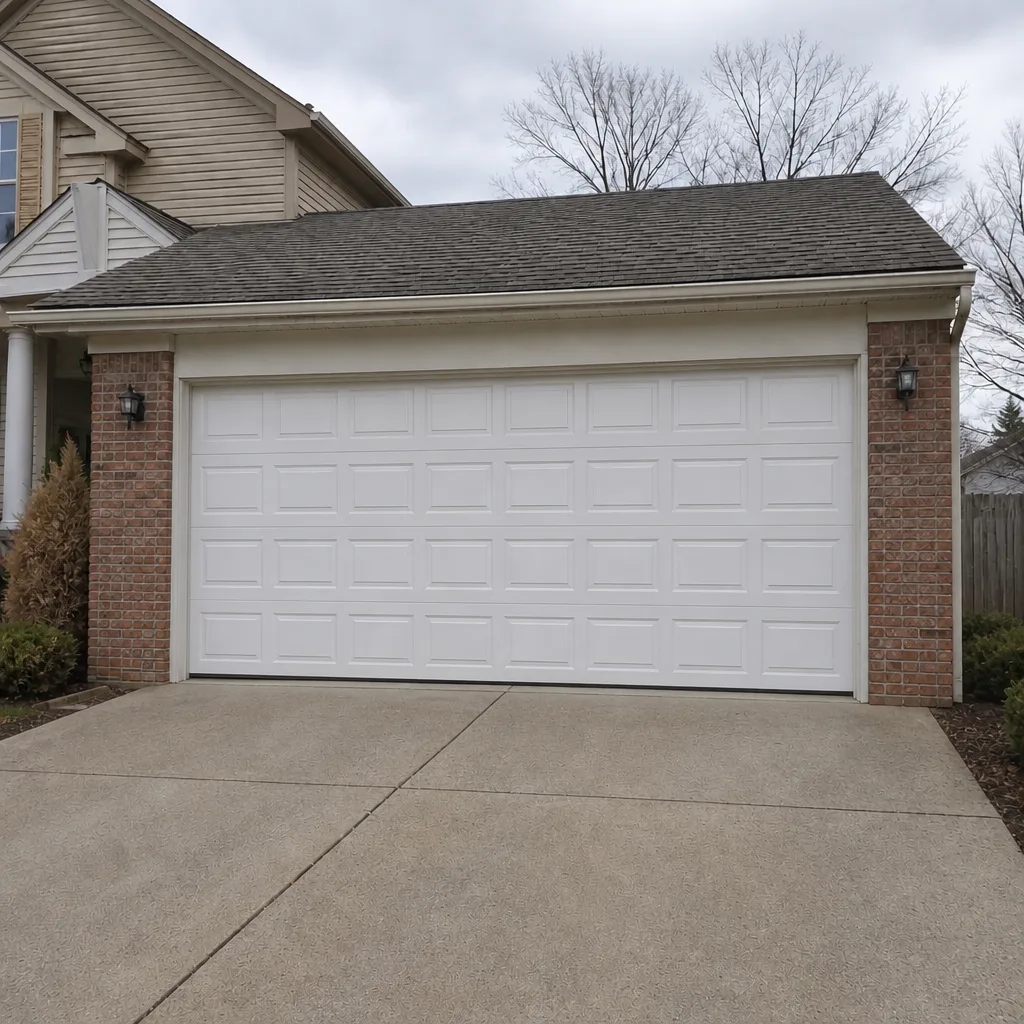 After
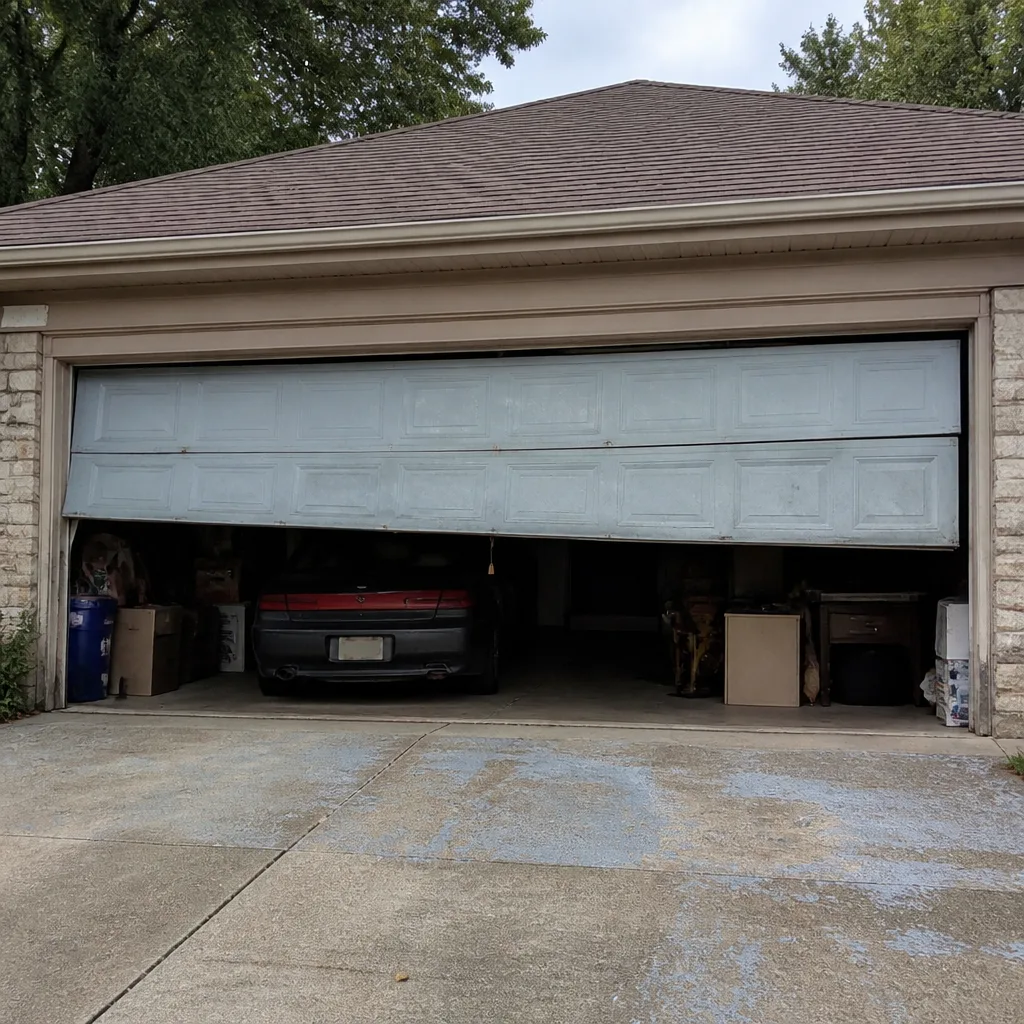 Before
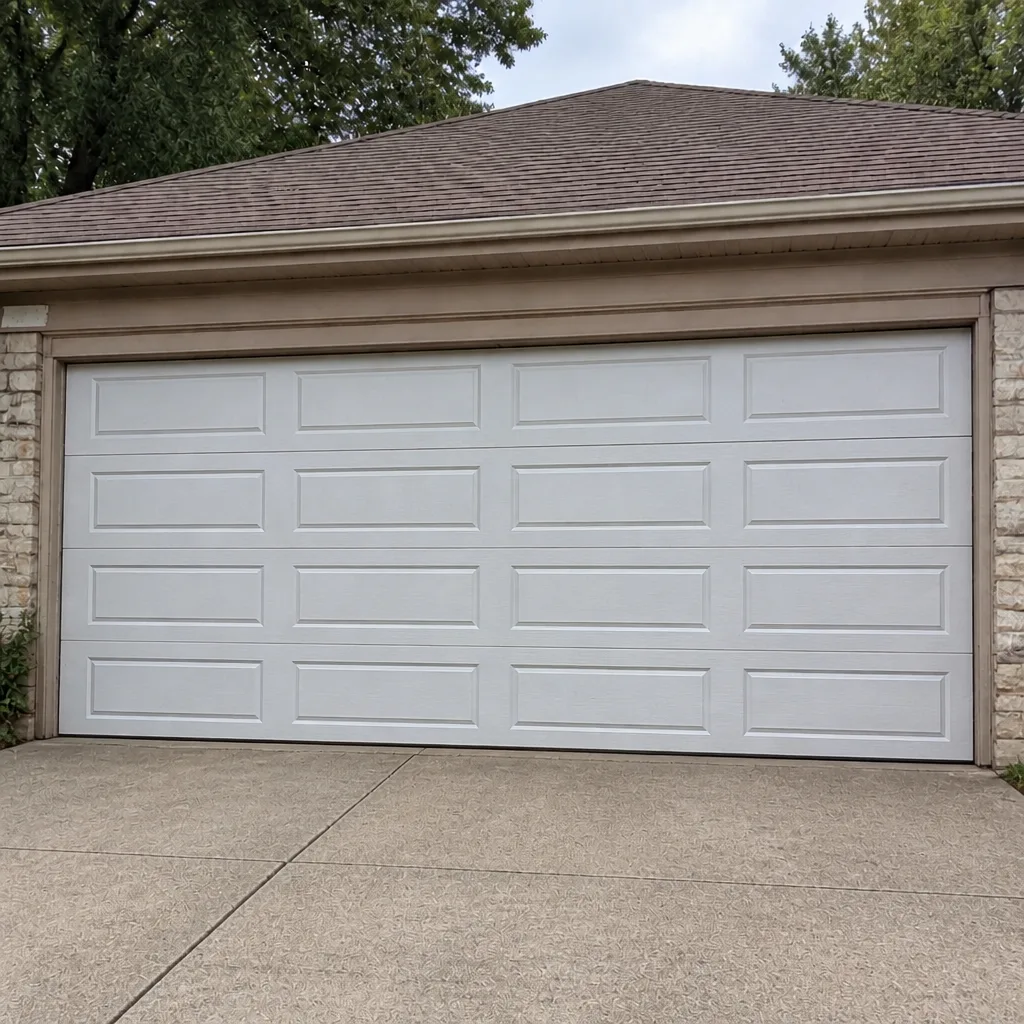 After